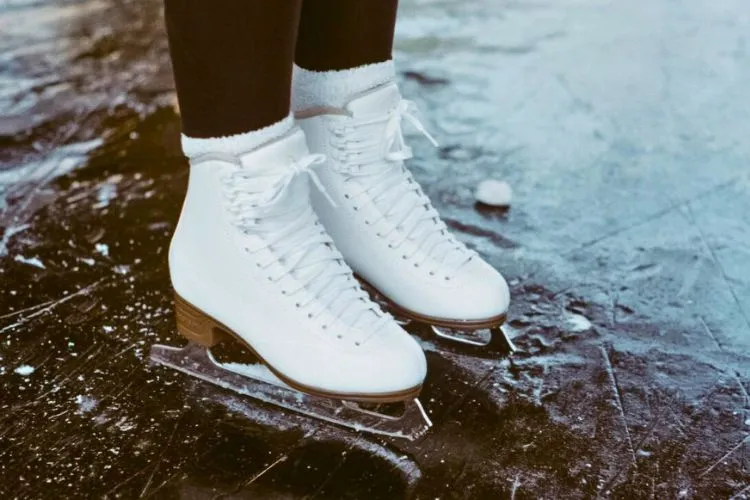
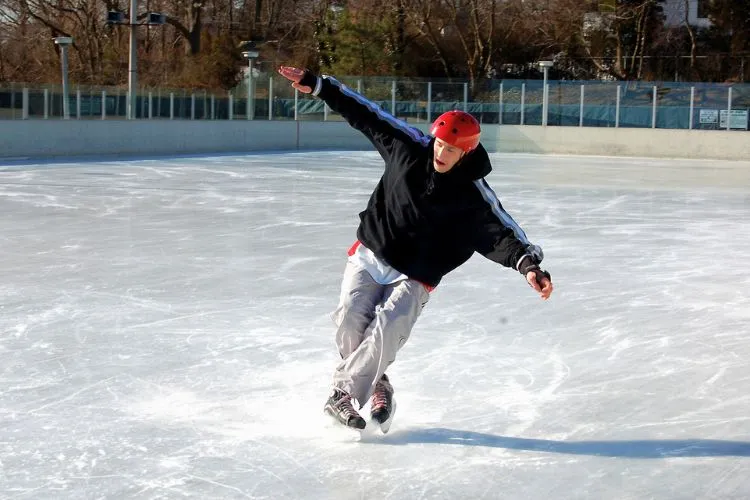
Breaking in new ice skates is an essential step in ensuring your time on the ice is as comfortable and productive as possible.
Brand new skates often come with stiff uppers and soles that can cause discomfort, and even injury if not properly broken in.
Through this article, we’ll guide you on how to break in ice skates in a simple way, offering proven strategies to ease your skates into a perfect fit for your feet.

Understanding the Break-In Process
When we talk about breaking in ice skates, we mean the process of wearing and using new skates until they conform to the shape of your feet. The materials used to make skates, such as leather and synthetic composites, often start out rigid and become more flexible with use.
This flexibility is crucial for achieving the optimal balance of comfort and support necessary for skating. Different types of skates, whether figure skates or hockey skates, may have unique requirements when it comes to breaking them in due to their specific designs and intended use.
How to Break in Ice Skates?
Initial Inspection and Fitting
Before beginning the break-in process, ensure that your skates fit correctly. Skates that are too large can cause blisters, while skates that are too snug can lead to pressure points and poor circulation.
During an initial fitting, pay attention to the length, width, and overall feel. Your toes should lightly touch the front of the boot, and your heel should remain in place when lacing the skates.
Tools and Supplies Needed
A few items can help make the break-in period more manageable. These include a good pair of socks designed for skating, a small towel for drying, and potentially a boot stretcher for those spots that need a bit more room.
Step-by-Step Guide to Breaking in Ice Skates
Wearing Your Skates at Home
One of the simplest ways to start the break-in process is by wearing your skates at home. This can be done for short periods while performing simple tasks, allowing the boots to mold to your feet under body weight without the strain of actual skating. Start with just 10 to 15 minutes a day and gradually increase the time.

The Freezing Technique (Optional)
For a more advanced method, some skaters use the freezing technique. This involves filling bags with water, placing them inside the skates, and then putting the skates in the freezer.
As the water freezes and expands, it can gently stretch the boots. Exercise caution with this method to avoid damaging your skates.
Heat Molding (If applicable)
Certain modern skates come with thermoformable materials that can be heat molded for a custom fit. Specialized ovens in skate shops heat the skates to a particular temperature, after which they’re worn by the skater as they cool down, forming to the contours of their feet. Check with the manufacturer to see if heat molding is recommended for your specific model.
Skating Regularly
Ultimately, the best way to break in skates is by using them on the ice. Start with short sessions and gradually build up as your comfort improves. This natural wear is the most effective way to ensure the skates take on the ideal shape for your feet.
Additional Tips for a Smoother Break-In
Lace Techniques
Correctly lacing your skates is crucial during the break-in period. Start by lacing your skates loosely at the bottom and tighter as you move up to secure your ankles, ensuring you have both stability and flexibility. Be mindful not to tie the laces so tightly that they cut off circulation.

Use of Insoles and Socks
The right socks can make a significant difference in how your skates fit and feel. Choose thin, moisture-wicking socks to give your feet the snug fit without the bulk. Consider insoles if you need additional arch support or if the skate’s footbed doesn’t conform to your foot shape.
After-Skate Care
After each skating session, take steps to preserve the shape of your skates and aid the break-in process. Use a towel to remove moisture from the blades and inside the boots. Shoe trees can be placed inside skates to help them maintain their form as they dry.
Maintaining Your Skates Post Break-In
After your skates have been broken in, it’s just as important to maintain their condition. Regularly sharpen the blades, inspect for damage, and replace laces or other components as needed. Proper care ensures that your skates will last and perform well for years to come.
Common Issues and Solutions
As you break in your skates, you may experience common issues such as blisters or tight spots. If blisters do occur, make sure to use padding and consider adjusting how you lace your boots.
For persistent tight spots, consult a professional at a skate shop; they may be able to stretch the area or recommend further solutions.
Frequently Asked Questions (FAQs)
How long does it typically take to break in new ice skates?
The time it takes to break in skates varies, but on average, you can expect a few weeks of regular use.
Can I speed up the break-in process without damaging my skates?
While the break-in process shouldn’t be rushed, methods like wearing your skates at home and heat molding can help expedite the process.
Is it normal for my feet to hurt during the break-in period?
Some discomfort is normal, but pain should not be severe or prolonged. If this occurs, reevaluate the fit of your skates or consult a professional.
Can heat molding be done at home, and if so, how?
Heat molding should be done at a skate shop with the appropriate equipment to avoid damaging the skates.
What are the signs that my ice skates are properly broken in?
Properly broken-in skates should fit snugly without causing pain, allow full range of motion, and provide support.
Conclusion
Breaking in your ice skates is a critical aspect of skating that shouldn’t be overlooked. This article has guided you through the importance of the break-in process and provided a robust strategy for achieving a comfortable skate fit. Remember, patience is vital; give your feet and skates time to adjust to each other.

Matthew James is a passionate skater who wanted to create a platform to share his love for skating with others. With a vision to create a vibrant community of skaters, he aims to provide a space where skaters of all levels can connect, learn, and grow together.
